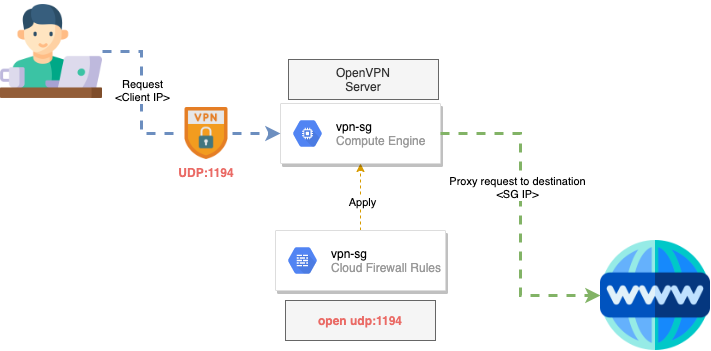
演示如何於 GCP 服務上快速安裝啟用自己的 OpenVPN Server
Prerequisites
首先我們先GCP專案中快速透過樣板建立 GCE 資源並將已安裝的預設套件更新
gcloud shell create GCP resources
# 建立樣板 VPN
gcloud compute instance-templates create "instance-template-vpn-sg-n2" \
      --description="Instance Template for SG VPN instance"\
      --region asia-southeast1 \
      --machine-type=n2-standard-2 \
      --image centos-8-v20201112 --image-project centos-cloud\
      --boot-disk-size 20 --boot-disk-type pd-ssd \
      --create-disk size=40,type=pd-ssd

# 建立防火牆規則, 開通 udp 的 1194 準備給 OpenVPN 使用
gcloud compute firewall-rules create "vpn-sg" \
      --network "default" \
      --target-tags "vpn-sg" \
      --allow udp:1194

# 透過樣板建立 SG GCE VM
gcloud compute instances create "vpn-sg" \
    --source-instance-template instance-template-vpn-sg-n2\
    --tags "vpn-sg" \
    --zone asia-southeast1-a
Update YUM and DNF
sudo yum update -y | sudo dnf update -y
one click OpenVpn install
這邊我們使用 https://github.com/Nyr/openvpn-install 這個強大的安裝 shell 幫我們一建快速生成 OpenVPN Server
git clone https://github.com/Nyr/openvpn-install

chmod +x ~/openvpn-install/openvpn-install.sh
sudo ~/openvpn-install/openvpn-install.sh
中間需要確認使用 udp 的 1194 作為 OpenVPN 的通訊 Port. 如果不是這個協定或是 Port 好則要去先前的防火牆規則進行調整.
check iptables and save to reload current settings
當安裝執行完後由於會改到 iptables. 所以我們可以先用以下指令確認:
sudo iptables -t nat -L -n --line-number當確認有新增的 Routing 後即可使用下方指令儲存當前已修改的 iptables:
sudo iptables-save | sudo tee /etc/iptables/rules.v4Create OpenVpn Client Account
接著我們重複使用安裝腳本建立出新的 OpenVPN Client 帳號:
sudo ./openvpn-install/openvpn-install.sh
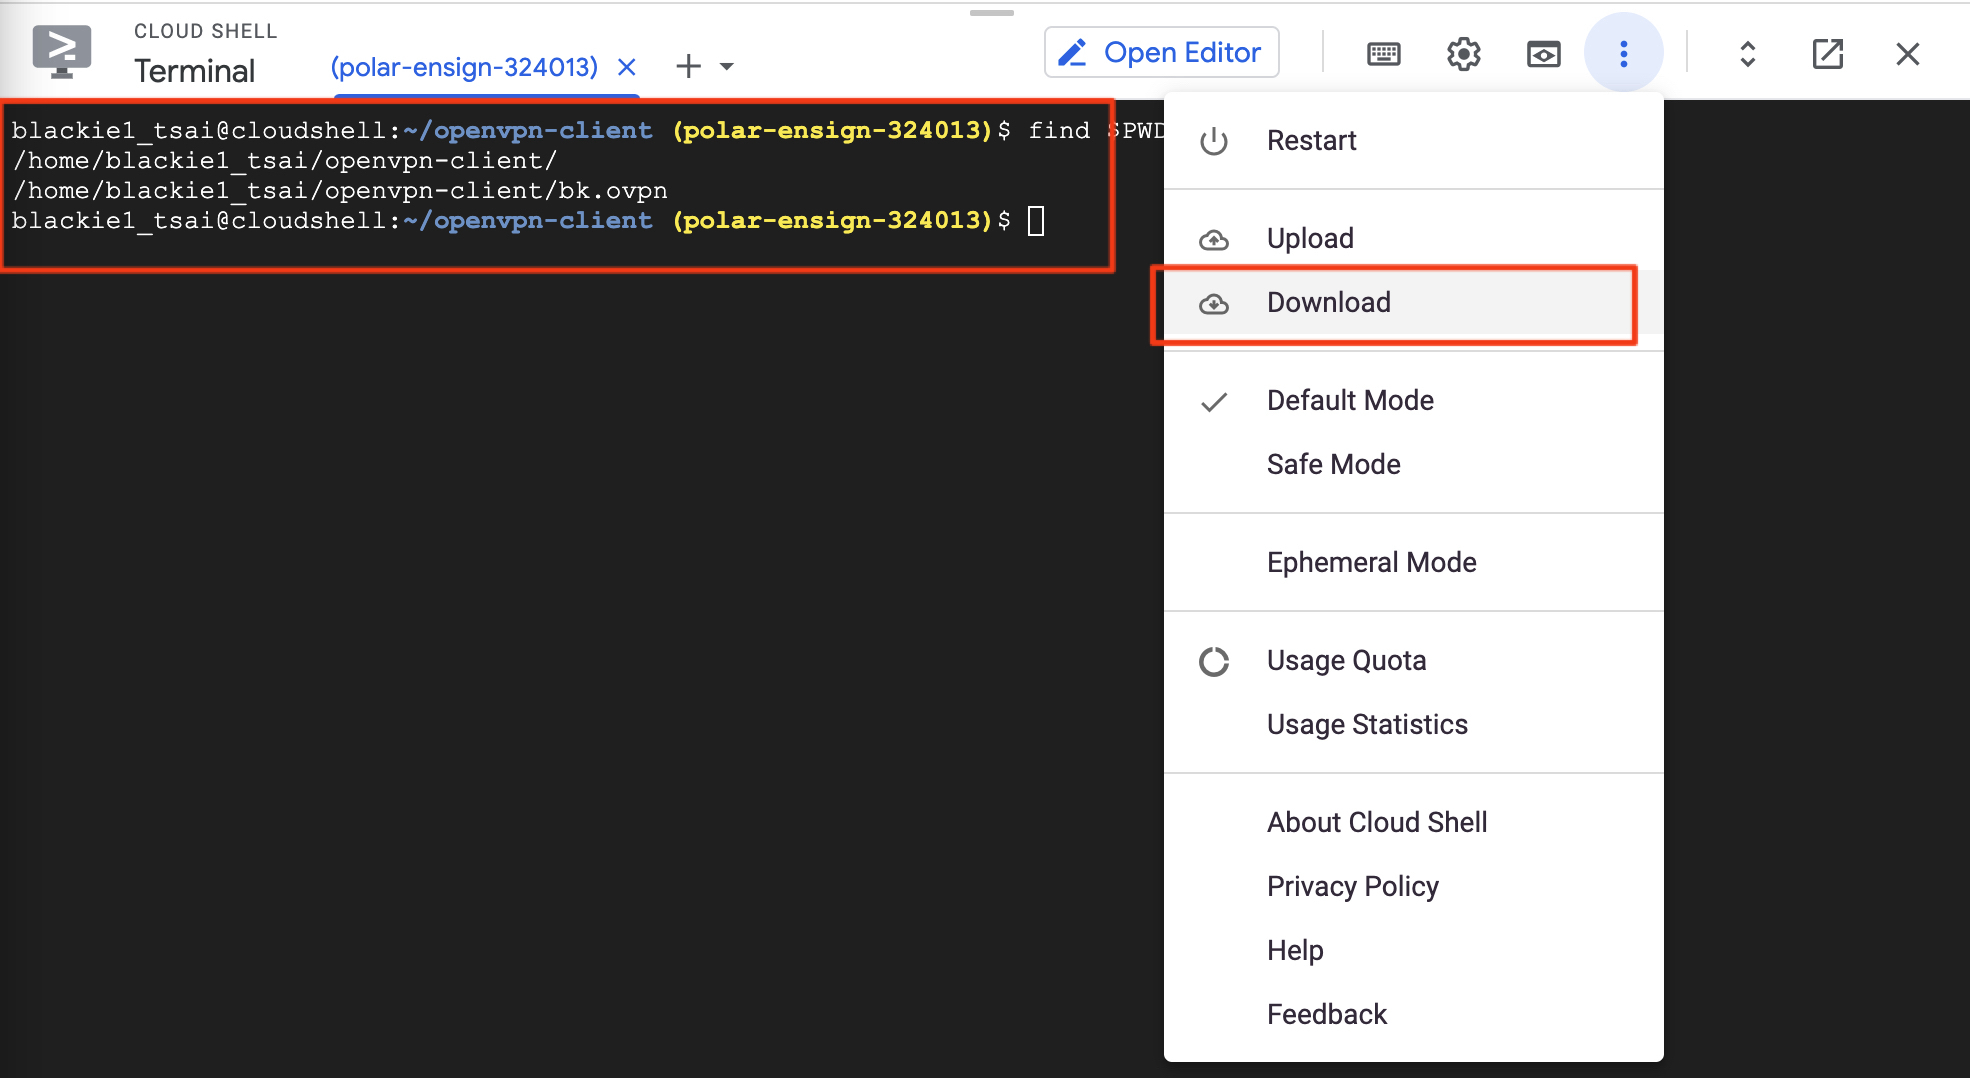
sudo cp /root/xxxx.ovpn ~/openvpn-client/這邊我們將 .opvn 檔案移動到一個便於確認的資料夾,並透過 gcloud shell 的介面進行檔案下載:
VPN Testing
這邊於使用端先下載好 OpenVPN Client 的軟體 - OpenVPN Connect.
安裝好後即可開啟軟件匯入:

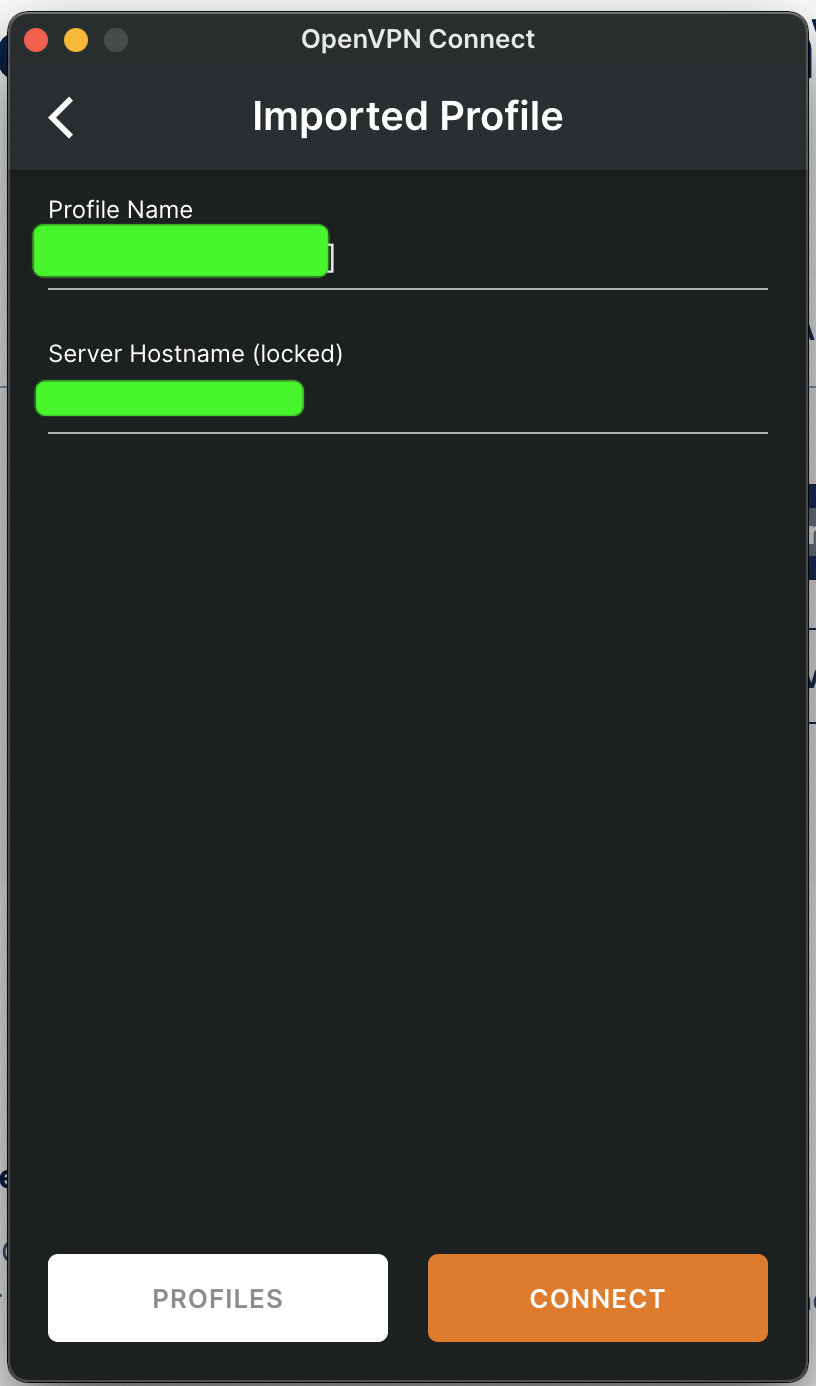
到這步驟後即可開心使用自己的 VPN 了.